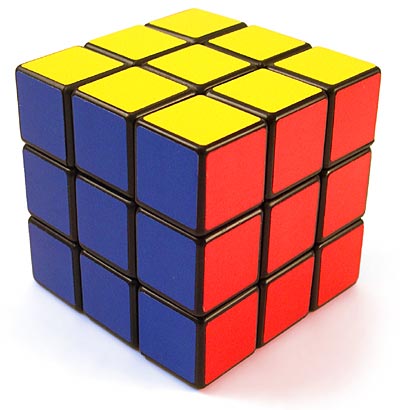
Create a 3D Model of a Rubik's Cube with intuitive mouse and keyboard input controls.

www.thinkgeek.com/images/products/zoom/rubix_cube.jpg
This project was done as a learning experience in graphical programming and the mathematics behind both 3D rotations and algorithmic analysis of the states of a Rubik's Cube.
With no experience in graphical programming and the task of creating some RTICA, (real-time interactive computer animation) I decided that a Rubik's Cube would be perfect. It's a classic game, it's full of mathematics (both in the geometry and in the algorithms) and it offers the opportunity to work with simple graphical objects (cubes) and combine them into a complicated structure.
The first thing I had to do was actually model the cube. This was relatively easy: I took VPython's pyramid class and built a cubelet class out of it, then created a three-dimensional array of size 3 by 3 by 3 with which I constructed and stored the cubelets. Thankfully, VPython handeled all the graphical pipeline work for me.
Then I had to create controls for the cube. The two basic funtions are a move (rotating one of the rows or columns of the cubes 90 degrees) and a camera rotation (so you can look at each side of the cube). To implement moves, I took two-stage input from the user to specify a cubelet to rotate, and the way to rotate it. Then the associated row or column is calculated, and the rotation is performed.
Finally I had to implement a solver (and some auxiliary methods) for the Rubiks Cube. This turned out to be problematic and unexpectedly difficult, so I ended up admitting defeat (for now...) and implementing a "solver" by storing a list of the moves that were made and reversing them. As for the auxiliary methods, I used the stored list of moves to allow the user to undo moves. The orbit function (rather hilariously) rotates the entire scene, and the scramble function makes a random number of random moves.

Week 8: see Progress Report 1.
Week 9: redesigned animated rotations. Still buggy, but simpler and fixable.
Week 10: restructured code base to allow for easier implementation of later features. Submitted proposal draft.
Week A: spent time studying mathematics and concepts behind various features.
Week B: learned about three.js Rubik's Cube. Looked at implementation; further analysis of code pending.
Week C: edited proposal and got camera rotations working.
Week D: completed project coding. working on documentation, write-up, etc.
Week E: preparing project presentation.
Week F: presenting RTICA.
| (0,0) | (1,0) |
| (0,1) | (1,1) |
Table because my professor once said that no one in his class ever used them.